
Ubuntu’s Long Term Support (LTS) releases are widely used for their stability and extended support. If you’re still running Ubuntu 18.04 LTS (Bionic Beaver), it’s time to upgrade to Ubuntu 20.04 LTS (Focal Fossa) to ensure continued security updates, improved performance, and access to newer features.
In this guide, we’ll walk you through the entire Ubuntu upgrade process using the do-release-upgrade command.
Why Upgrade Ubuntu LTS?
Upgrading from Ubuntu 18.04 to 20.04 offers several benefits, including:
- Extended security updates until April 2030.
- Improved performance and stability.
- Updated software packages and kernel versions.
- Enhanced UI & GNOME improvements for a better user experience.
Preparation Steps Before the Upgrade
Before proceeding with the upgrade, follow these essential preparation steps:
1. Update Your Current System
Ensure your system is fully updated by running:
sudo apt update && sudo apt upgrade
2. Install the Upgrade Tool
To handle the upgrade process, install the necessary package:
sudo apt install update-manager-core
3. Configure Upgrade Preferences
Modify the upgrade settings to receive LTS version updates only:
- Open the file: /etc/update-manager/release-upgrades
- Ensure Prompt=lts is set
Once these steps are completed, your system is ready for the upgrade.
Step-by-Step Ubuntu Upgrade Process
To initiate the upgrade, execute the following command:
sudo do-release-upgrade
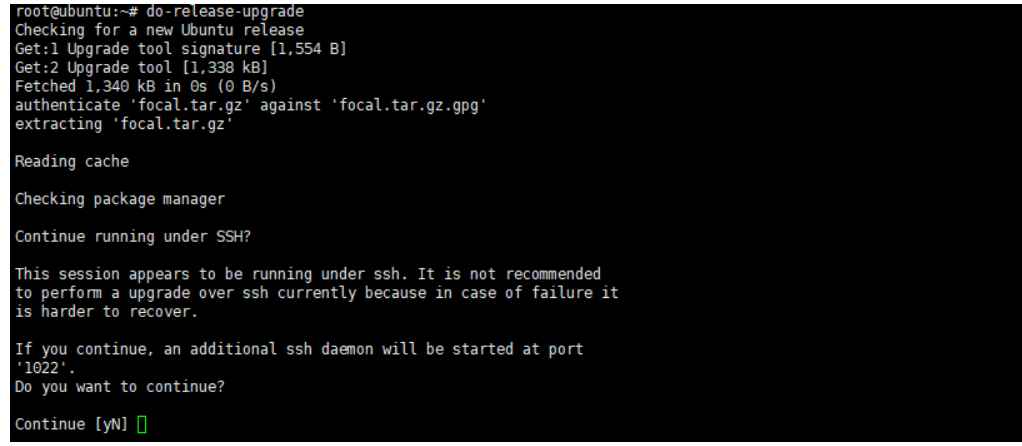
Step 1: SSH Warning
If upgrading via SSH, the system will warn that this is not recommended. It will offer to start an additional SSH daemon on port 1022 as a fallback. Press ‘y’ to continue.
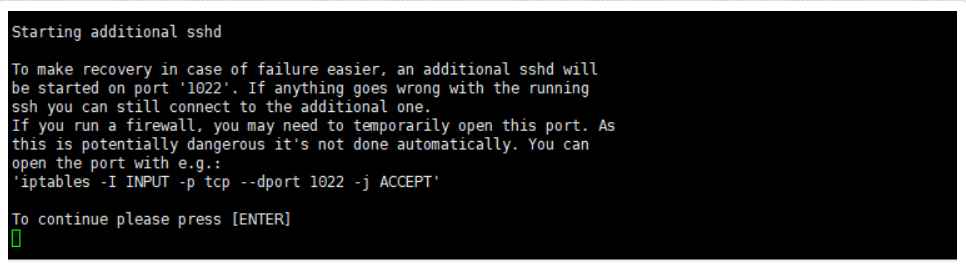
Step 2: Additional SSH Daemon
The system will start a recovery SSH daemon on port 1022. If needed, open this port in your firewall:
sudo iptables -I INPUT -p tcp –dport 1022 -j ACCEPT
Press ENTER to proceed.
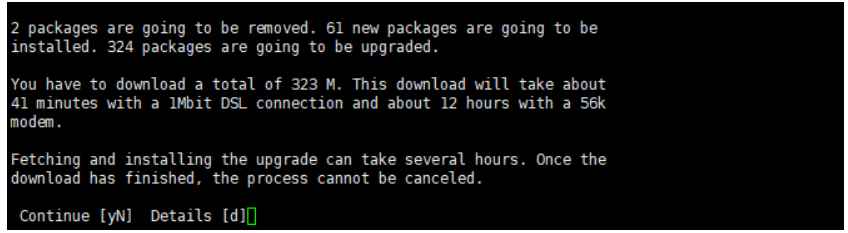
Step 3: Package Changes Overview
The system will display a summary of package changes:
- 2 packages to be removed
- 61 new packages to be installed
- 324 packages to be upgraded
- Total download size: 323MB
Press ‘y’ to continue or ‘d’ for details.
Step 4: Service Restart Configuration
During the upgrade, services may need to restart automatically. Choosing “yes” will prevent repeated prompts but may restart services without warning.

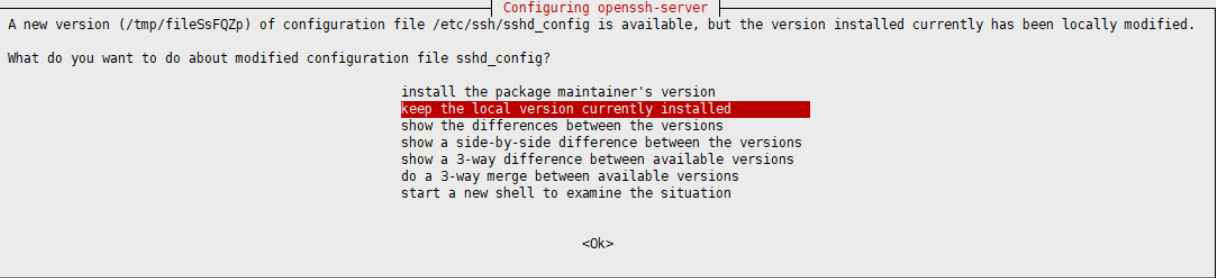
Step 5: Handling Modified Configuration Files
If you have locally modified configuration files (e.g., /etc/ssh/sshd_config), the system will prompt for action. Select “Keep the Local version currently installed.”
Step 6: Finalizing the Upgrade
At 99% completion, the system will process certificates and initramfs. It will also identify 35 obsolete packages for removal. You can review the details with ‘d’ or proceed with ‘y’.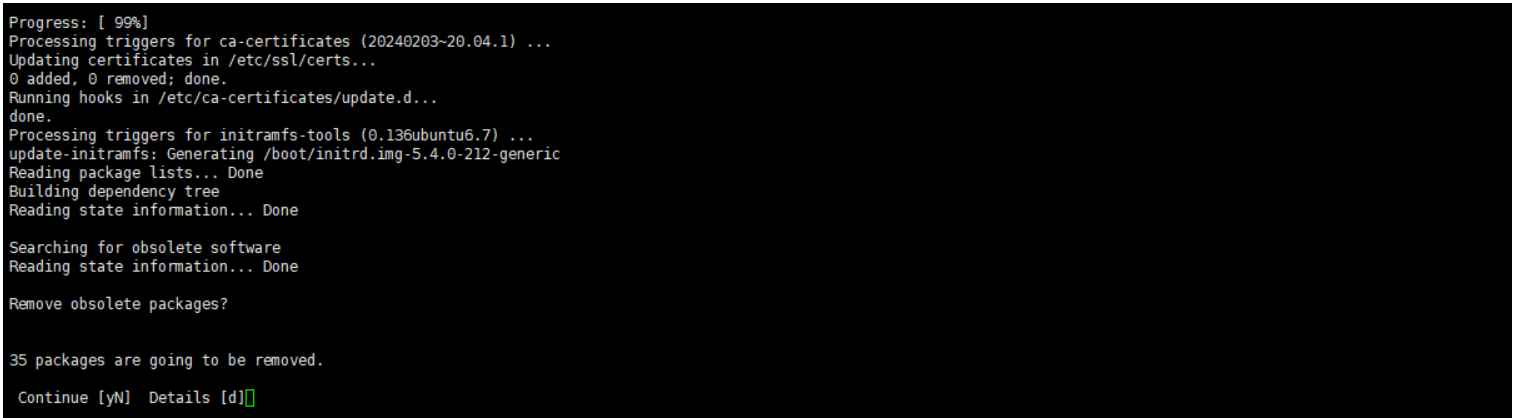
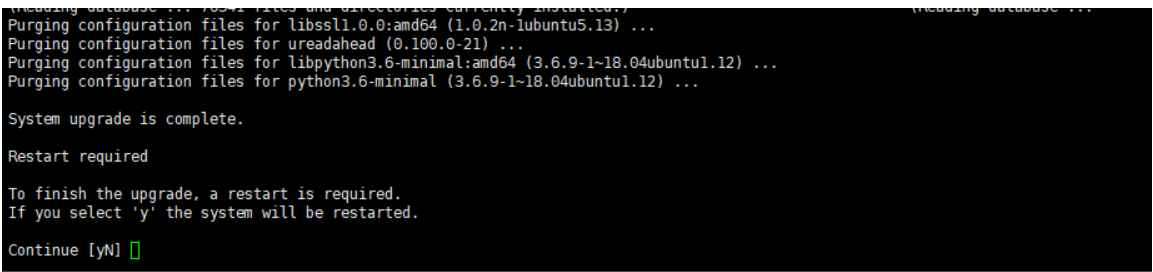
Step 7: Upgrade Completion
After removing old configurations, the system will notify that:
- The upgrade is complete
- A restart is required to finish the process
Press ‘y’ to reboot immediately.
Post-Upgrade Steps
Once your system has rebooted, perform the following checks:
1. Verify the Upgrade Success
Run the following command to confirm the upgrade:
lsb_release -a
Expected output:
Ubuntu 20.04 LTS
2. Remove Unnecessary Packages
Clean up obsolete packages to free up space:
sudo apt autoremove
3. Perform a Final System Update
Ensure that everything is up to date:
sudo apt update && sudo apt upgrade
Important Considerations
- Backup Your Data: Before upgrading, always backup important files.
- Schedule Downtime: The upgrade process can take several hours.
- Monitor SSH Upgrades: If upgrading remotely, ensure you can reconnect via the fallback port if necessary.
- Review Configuration Changes: Carefully examine system prompts to retain necessary configurations.
By following these steps, you can ensure a smooth and hassle-free upgrade to Ubuntu 20.04 LTS. Enjoy the improved performance, security, and stability of your updated system!
Explore more insightful guides on our blog—click here to read more.
